- Welcome
- Use case
- Getting Started
-
Searching Records
- Performing a Basic Search
- Performing an Advanced Search
- Performing a List Search
- Performing a Keyword Search of UUMC Pathology Reports for all Patients in the Database
- Performing a Keyword Search of UUMC Pathology Reports for the Patients Associated with a Specific Set of Specimens
- Restrictions on Searches
- Reports
-
iQ Tool
- Adding Columns to a Query
- Starting the iQ Tool
- iQ Tool Window
- Current Query Data Group
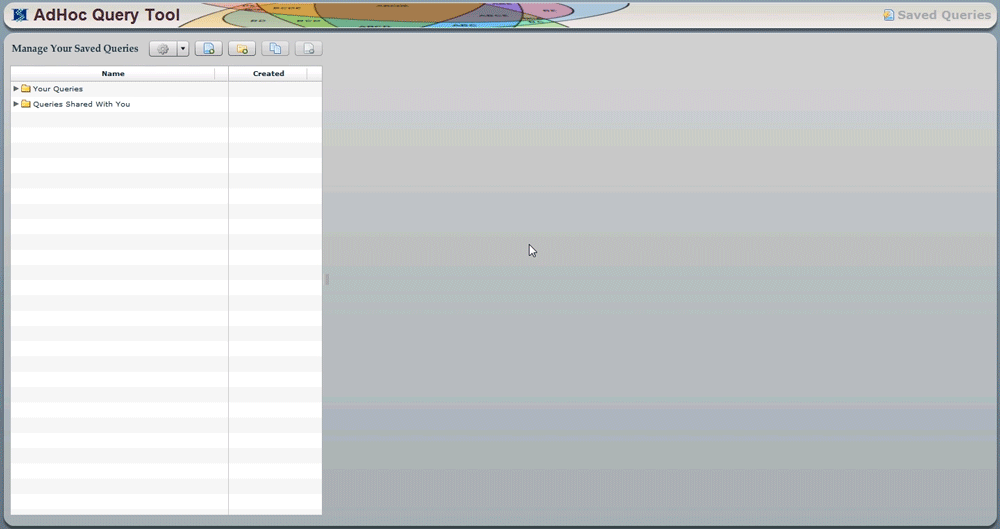
- Saved Queries List
- Top Portion of the Selected
- Display or Report Columns Section
- Find/Filters Section
- Running a Preexisting Query
- Creating a Query
- Create Query Window
- Copying and Altering a Preexisting Query
- Removing Columns from a Query
- Editing Column Parameters in a Query
- Changing the Order of Columns in a Query
- Adding Filters to a Query
- Editing Filters in a Query
- Ways of Comparing Data
- Removing Filters From a Query
- Results Window
- Application Data Structure
- Application Database Fields Alphabetical List
- Application Datatree
- Field Paths List for the iQ Tool
-
Adding Specimens to the Database
- Adding a Single Specimen using the Add Specimen Wizard
- Adding a Batch of Specimens using the Add Specimen Expert Tool
- Saving a Batch of Specimens to be added as a Work in Progress
- Finishing a Work in Progress Batch
- Printing Barcodes for a Specimens in a Batch added using the Add Specimen Expert Tool
- Customizing the Add Specimen Expert Tool to Streamline Specimen Batch Entry
- Changing which Box an Add Expert Template Points for Adding Storage
- Importing FFPE Samples from UUMC
- Entering and Editing Specimen Records
- Transformations
- Specimen Disbursement and Registration
- Reports and Records
- Adding a Pathology Report to a Specimen Record
- Performing a DEXT Import of a Pathology Import
- Checking on the status of your DEXT Import Request
- Adding a Medical Record to a Specimen Record
- Editing Patient or Collection Records
- Editing Collection Records
- Editing Patient Records
- Diagnoses
- Adding a Diagnosis to a Patient Record
- Linking an Existing Diagnosis to one or more Collections
- Linking a Collection to a Diagnosis
- Recording a Consent for a Patient
- Reviewing a Patient's Consents
- Uploading a Patient's Consent Form
- Managing Patient Consents
- External (to itBioPath) Data Sources
- Managing Dictionaries
-
Storage
- Editing Aliquots
- Connecting a Barcode Label Printer to itBioPath
- Removing a Barcode Label Printer from itBioPath
- Freezer Management
- Viewing the Contents of a Box in a Freezer
- Accessing the Specimen Record for the Specimen associated with an Aliquot
- Editing Box Details
- Adding a New Box to a Freezer from the Add Aliquot Window
- Managing Protocols, Projects, and Related User Permissions
- Window, Tab, and Field Descriptions
- Miscellaneous
Creating an iQ query has several parts. The entire process will be presented here and then certain parts which require clarification will be explained more completely hereafter in their own sections. These instructions show how to create a query from scratch. If you would like to base your query on a preexisting query to save time see Copying and Altering a Preexisting IQ. To create an iQ:
1. Start the iQ tool and log in if necessary. (See Starting the iQ Tool.)
2. Click the add button in the 'Manage your saved queries' data group to add your new query to 'Your Queries' folder. The 'What would you like to query' window will open.
3. Click the appropriate to circles to select what the query will be about. The 'Crete Query' window will open. Name your query and click 'OK'.
4. Your query is added to the 'Your Queries' folder and it is selected. (It appears in the current queries window with no columns or filters selected yet.)*To close the Add Query window without adding a query to the Personal Queries folder, click the Cancel button.
5. Add the columns you want to appear in your query to the list and place them in the order you want them to appear from left to right on the 'Display' section. (See Adding Columns to a Query and Changing the Order of Columns in a Query.) *If any of the columns selected on the 'Display' section contain restricted information, the only information that will be displayed in the column when the query is run will be for those records for which you have the proper permissions for viewing this restricted information. Records included in the query which have information in these columns but for which you do not have the necessary permissions will show only the word (restricted) in place of the restricted data. The words Restricted report — data omitted from the report will also appear in red at the bottom of the iQ Results window.
6. Add filters to the query in the 'Find' section to specify which records are to be included in the query to the list that appears there. (See Adding Filters to a Query.)*If any of the fields included on the Filters tab contain restricted information, the records included in the query will be limited to only those records for which the user has the appropriate permissions to access this information. Records which normally might have been included in the query but for which you do not have the necessary permissions will not show up. The words Restricted search — rows excluded from report will also appear in red at the bottom of the iQ Results window.
7. If you want to share your query with others, check the 'Public?' option. *It is suggested that not too many similar queries are shared, since this could make it difficult to find the query you want in the 'Queries Shared with you' folder, but if your query is different enough from other shared queries, it could be useful to someone else using the system.
8. Click the Run button to run your query. The results of your query will appear in the iQ Results window. (See The iQ Results Window.)
If you click the Run button in a query without listing any columns to include in the query on the Report Columns tab, you will get an error message. Click OK. Add at least one column to the query and run the report again.